How CamLooper Works, Step by Step
CamLooper does one thing: it records a short clip of you and then plays that clip on a loop as if it were your webcam. Video call apps see it as a camera device called CamLooper Virtual Camera.
The whole flow is three steps and takes about a minute. Below is every screen you will see, in order, with a working demo you can click through first.
Try it before you install anything
This is a replica of the app running in the page. Click the buttons and walk through the same three steps the real app uses — nothing is installed, and your camera is never switched on.
Step 1 · Go live
This is exactly what others will see. Pick your camera and sit how you want to appear.
Step 2 · Record your loop
Record 10–30 seconds of yourself looking natural. A few small movements — a nod, a glance — make the loop look natural.
Looks good?
Here's your clip. Loop it as your webcam, or record again.
Your loop is running
Your clip is now looping as your webcam. In Zoom, Teams or Meet, choose “CamLooper Virtual Camera” as your camera.
Step 1 — Go live
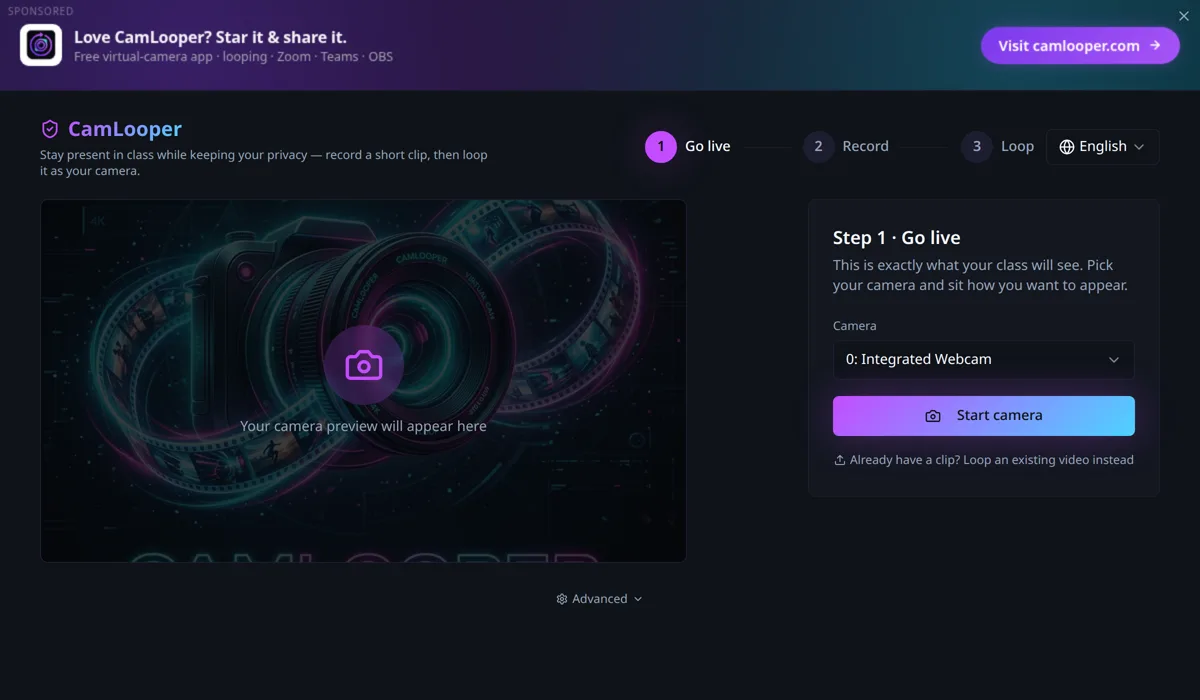
When CamLooper opens it is already on step 1. Pick your camera from the dropdown — if you only have one, it is selected for you — and press Start camera.
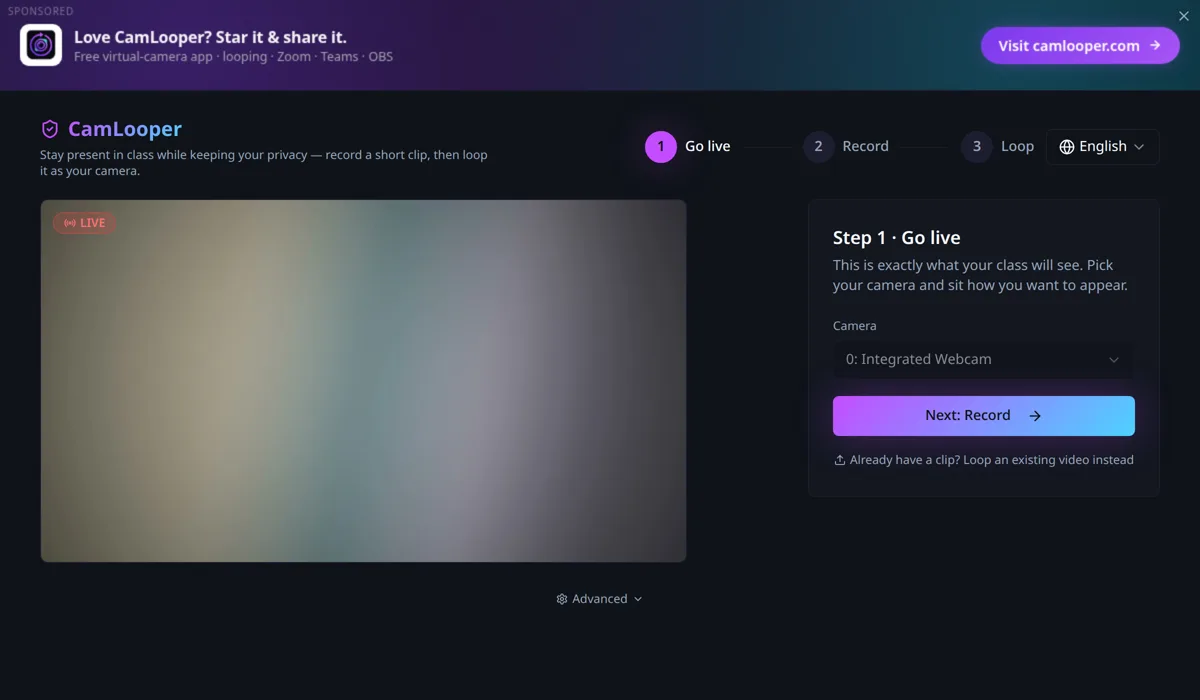
What you see here is exactly what the call will see — same crop, same framing, same lighting. This is the moment to sit how you want to appear, because the next step captures it. When you are happy, press Next: Record.
Already have a clip you want to use? Loop an existing video instead, under the button, skips straight to step 3 with a file you choose.
Step 2 — Record your loop
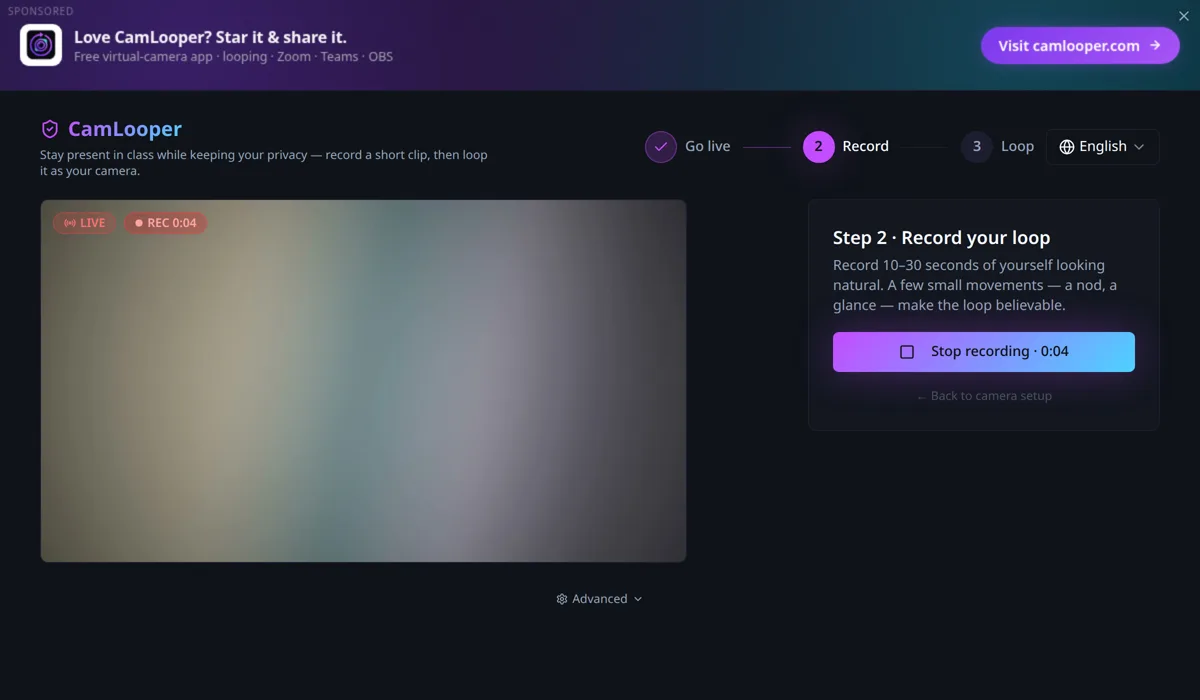
Press Start recording and give it 10 to 30 seconds. That range matters more than it looks:
- Too short and the repeat becomes obvious — a two-second loop reads as a stutter.
- Too long and the file gets large for no benefit.
- Move a little. A nod, a blink, a glance to the side. A perfectly still clip can look like a frozen video, so a little movement makes the loop look smoother.
- End roughly where you started. If your head is in the same position at second 20 as at second 0, the seam between repeats disappears.
Press Stop recording when you are done.
Step 3 — Check the clip
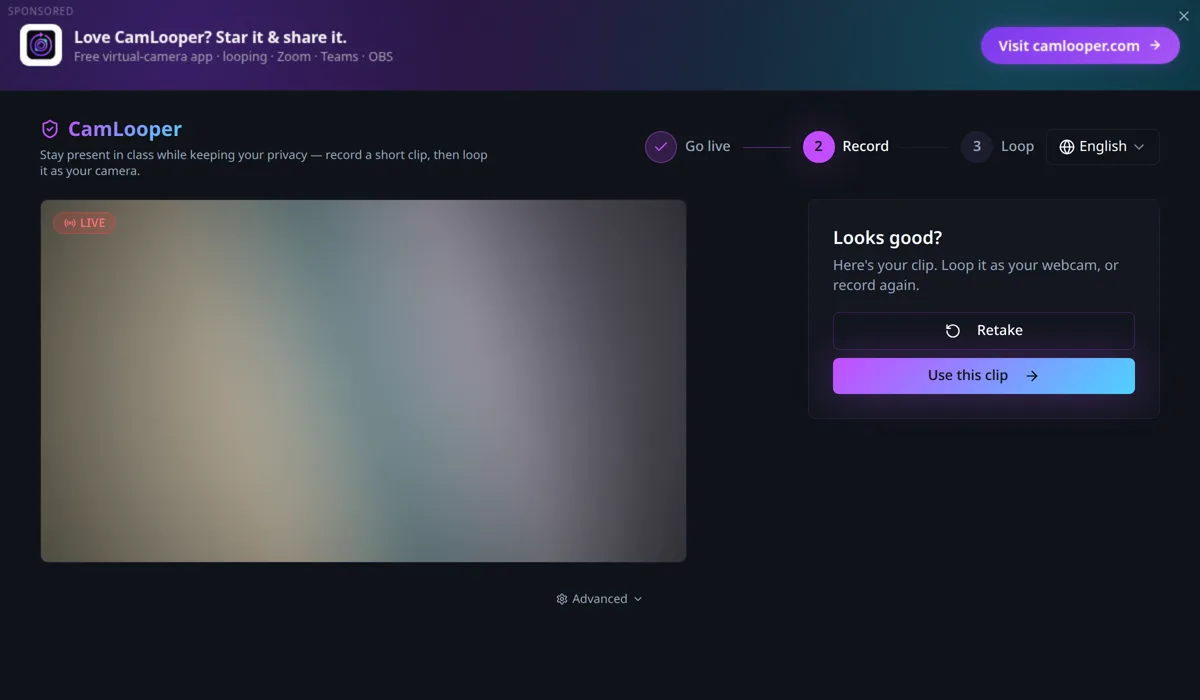
The clip plays back looping, so you are seeing the finished result rather than a still frame. Watch it round once or twice and check the seam where it restarts. If the jump is visible, Retake and try ending closer to your starting position. Otherwise press Use this clip.
Step 4 — Your loop is running
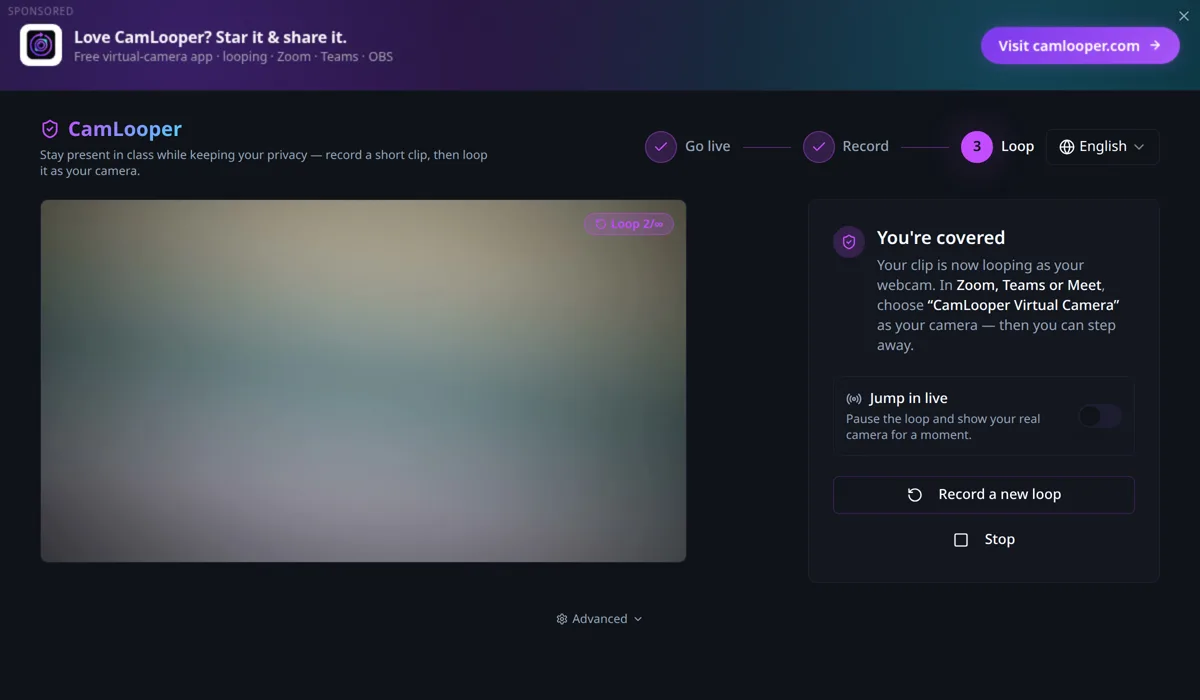
Your clip is now going out through the virtual camera. Two controls matter here:
- Jump in live swaps the loop for your real camera for as long as the toggle is on. Switch it back off to return to the loop.
- Stop ends the loop and shuts the virtual camera down.
Leave CamLooper running. The virtual camera exists only while the app is open; close it and the device disappears from every call.
Picking CamLooper in your call
The app feeds a normal camera device, so every conferencing tool selects it the same way — in the camera dropdown of its video settings, as CamLooper Virtual Camera:
- Zoom — Settings → Video → Camera
- Microsoft Teams — Settings → Devices → Camera
- Google Meet — Settings → Video → Camera
- Discord — User Settings → Voice & Video → Video Device
- OBS Studio — add a Video Capture Device source
Start CamLooper before you open the call app. Most of them enumerate cameras once, at launch, so a virtual camera that appears afterwards will not be in the list until you restart them. This is far and away the most common reason people think the setup failed. See why a virtual camera doesn't show up if it still refuses to appear.
Under the hood: the Advanced panel
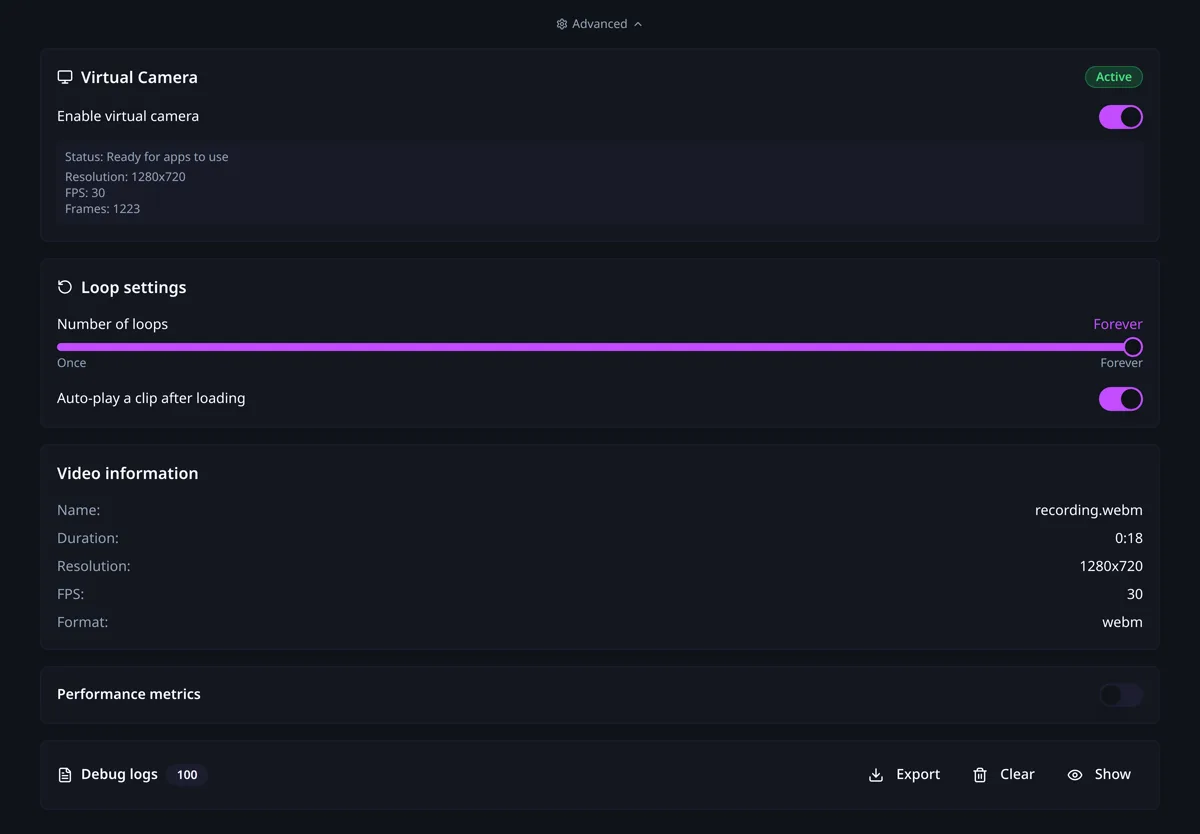
The Advanced toggle under the preview opens the parts you do not normally need:
- Virtual Camera — whether the device is registered and streaming, at what resolution and frame rate. If a call cannot find the camera, this is the first thing to check.
- Loop settings — repeat forever or a fixed number of times, and whether a clip starts playing as soon as it loads.
- Video information — the resolution, duration and frame rate of the loaded clip.
- Performance metrics and Debug logs — frames processed and dropped, and an exportable log. Useful if you are reporting a problem.
Where your video goes: nowhere
Recording, encoding and playback all happen on your own machine. Your clip is written to a local file and fed straight to the virtual camera device; it is never uploaded, and CamLooper has no account and no sync. The only things the app loads from the web are its ad pages. The privacy policy spells this out.
What CamLooper is not for
CamLooper is not a cheating tool, and it is not built to help anyone deceive an institution or a person who is entitled to see them. It exists so you can loop a prepared video as your camera feed — an intro, a demo, a branded loop or a test pattern — instead of a live picture of your home.
Do not use it to sit an exam, a proctored test or a certification you are supposed to take on camera. Do not use it to pass an identity or KYC verification, an interview, or any check where a live camera is the point of the exercise. Do not use it to impersonate another person.
How you use CamLooper is your responsibility alone. The rules that apply to you — your school's, your employer's, your platform's terms of service, and the law where you live — apply whether or not the app makes something technically possible. If you are not sure a loop is acceptable in a given room, the honest move is to ask, or simply to turn your camera off.
If something doesn't work
- The camera is not in the list. Quit the call app completely — check the system tray on Windows, use Cmd+Q on macOS — then start CamLooper first and the call app second.
- No camera found in step 1. Another app is probably holding it. Close anything else that uses the webcam and reopen CamLooper.
- The loop looks jumpy. Record again and end in the position you started in; the seam is almost always a mismatch between the last frame and the first.
- Your video looks mirrored. Most call apps mirror your self-view by default and show the un-mirrored image to everyone else. Turn the mirror setting off and compare before assuming anything is wrong.
- On Linux, confirm the loopback module is loaded with
lsmod | grep v4l2loopback. The.deband.rpmpackages handle this for you — see the v4l2loopback setup guide if you are installing by hand.
Try CamLooper
Free and ad-supported. Your videos stay on your computer, and you're running in under a minute.
Download CamLooper